How to adjust the drum brakes on your two-wheeler

Drum brakes were used on two-wheelers even before disc brakes were introduced. Unless the brake pads are completely worn out, these brakes can be adjusted easily without the help of a mechanic.
They need your attention when you find the brakes to be a little squishy, which also means you have to push it a long way to actuate the brake. Also if there's not enough bite upon pressing, you know you will need to adjust them. We will show you a simple way to adjust this on any motorcycle/scooter with this drum brake set-up.
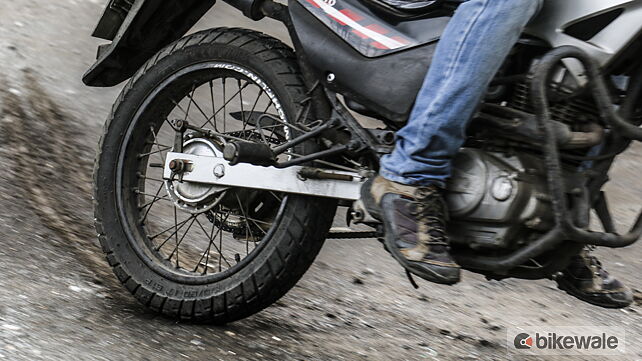
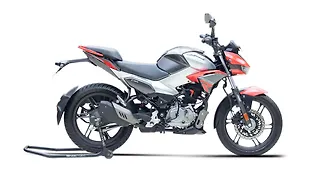
Here we have used a Hero Impulse and a Hero Pleasure to demonstrate the process. A drum brake set-up on a scooter or motorcycle has the same working process whether it's in the front or the rear.
Process -

- You will notice a movable arm connected to a brake rod near the wheel’s hub. There is a small spring and a nut attached to it. This is the nut which needs to be moved clockwise for tightening the brake and vice-versa.

- Generally this nut can be moved with your hand by pulling the arm.

- However, if you find it too tight, you can use a 14mm spanner to loosen/tighten it.

- As you keep tightening this nut, the play in the brake lever will decrease.

- Keep checking if the wheel is free and is not stopping except when brakes are applied.

- Make sure you don't tighten it too much or adjust it too close. There should be some play at the brake lever.

- Take a short ride to confirm the brake adjustment and if the pedal/lever operates and the brake functions properly.
Pictures by Kapil Angane
Gallery
1/20
How to adjust the drum brakes on your two-wheeler
Double Tap to Zoom











![KTM 390 Adventure X [2025] KTM 390 Adventure X [2025]](https://imgd.aeplcdn.com/272x153/n/cw/ec/190885/390-adventure-x-2025-right-side-view.jpeg?isig=0&q=80)