Introduction

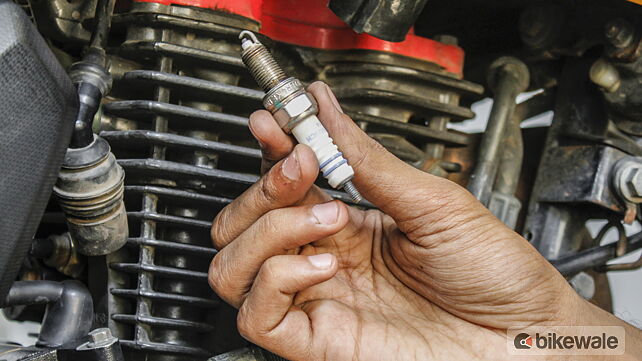
A spark plug performs the critical function of igniting the pressurised air-fuel mixture in the combustion chamber of an engine. Manufacturers prescribe a regular interval for the replacement of spark plugs. However, factors like poor fuel quality and dust can require them to be cleaned from time to time.
Cleaning or replacing a motorcycle’s spark plug (spark plugs, in case it is a modern Pulsar or a multi-cylinder bike) is one of the easiest maintenance exercises that you can do. Manufacturers usually bundle the tool kit supplied with the bike with all the tools you would need to clean or replace a spark plug. All you need to do is follow these steps -

Remove the spark plug

Locating a spark plug is easy, there will always be a thick a black wire routed from the top of the cylinder. Pull the sleeve out of the socket and you will notice the terminal sticking out of the cylinder. Slide the deep reach socket over this terminal. Now, the tool kit includes a handle to rotate the socket, but we found it easier to use a screwdriver instead. Given the limited scope for rotation, removing the spark plug can take some time and patience.

Clean the tip

In case you are replacing the spark plug altogether, you can just junk the older one and move on to the next step. Else, for cleaning the old spark plug, the component you need to clean is the tip that protrudes into the cylinder, called insulator tip. You can use specialised sprays or petrol to clean the grime off the tip and wipe it down. For more stubborn deposits, you can use the screwdriver tip or sandpaper.

Fit the spark plug back on

Once it has been cleaned, put the spark plug back the same way, and tighten it using the same apparatus. Clean the sleeve of dust and grime before you connect it back to the terminal.
Photography by Kapil Angane
Gallery
1/8
Clean or replace a spark plug
Double Tap to Zoom


